描述
<h3 style="line-height:1.8;"> 1、项目功能介绍</h3>
<div>
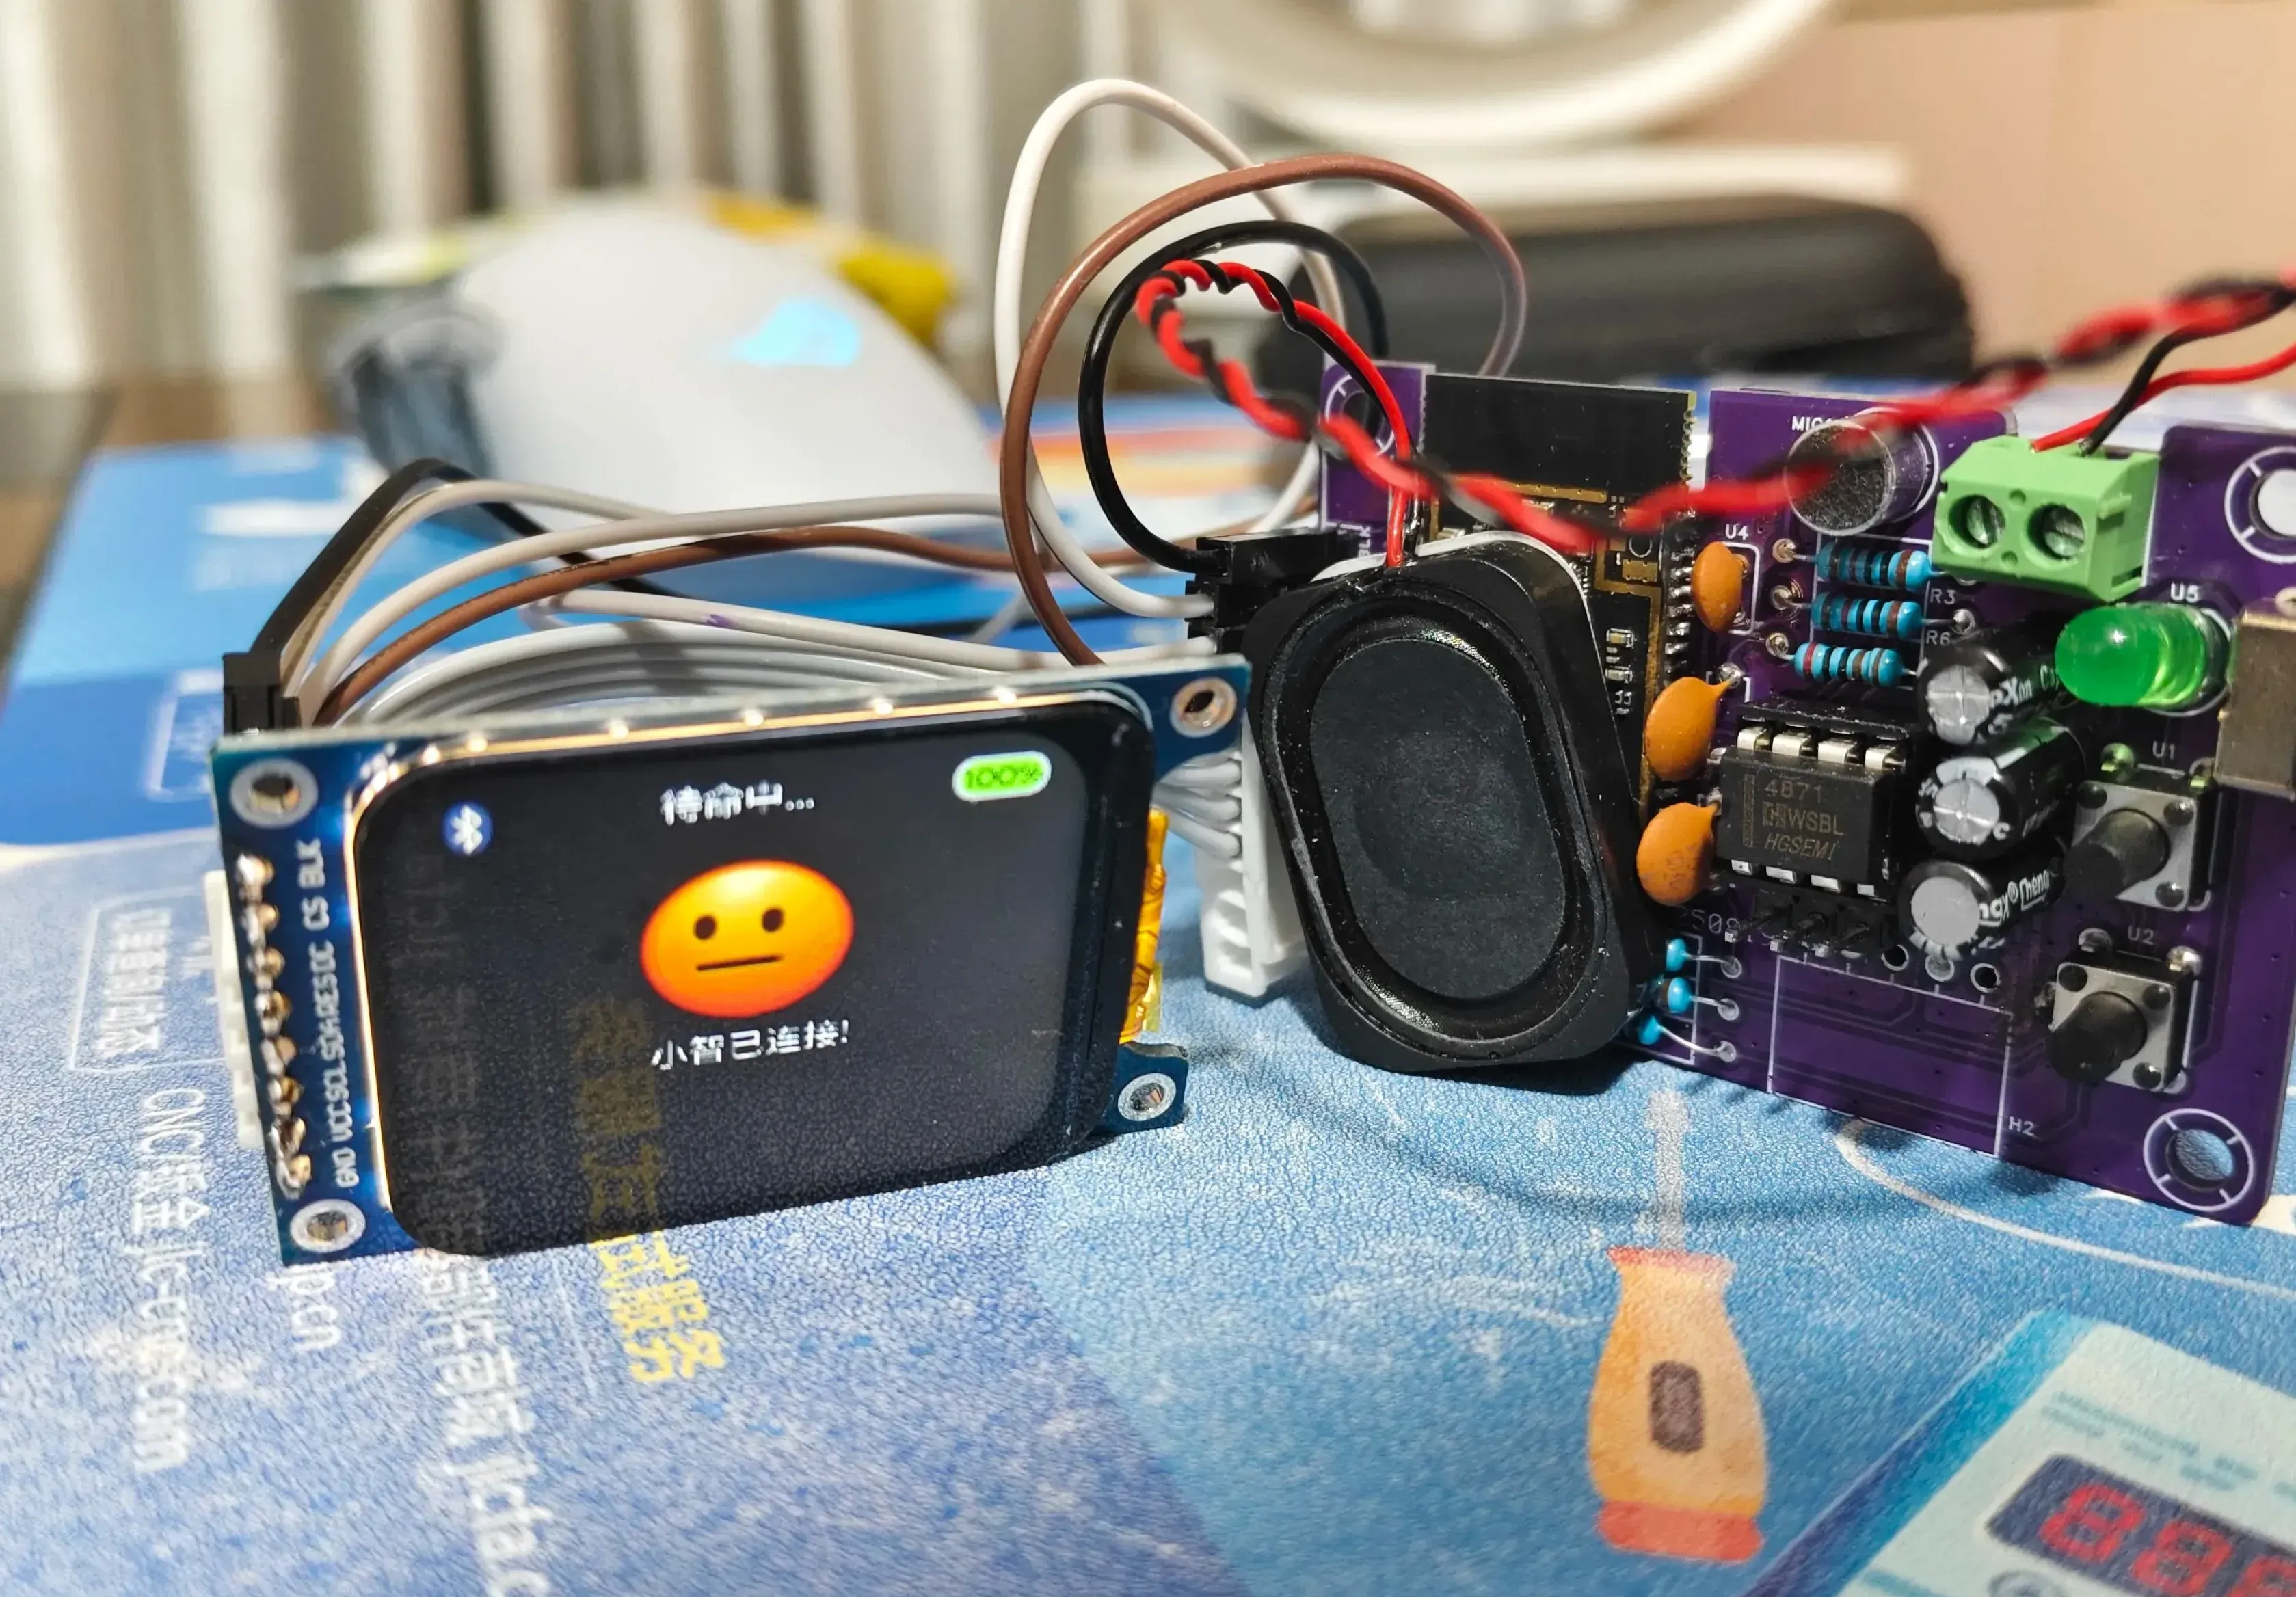
<div>基于 立创开源蓝牙模组 制作的简易AI对话机器人,实现AI实时语音对话。它能够听懂你的情绪,解答你的疑惑,也能分享你的快乐。</div>
</div>
<h3 style="line-height:1.8;">2、项目属性</h3>
<p style="line-height:1.8;"><span style="color:#000000;"><span style="color:#95a5a6;"> 立创训练营复刻项目</span></span></p>
<p style="line-height:1.8;"><span style="color:#000000;"><span style="color:#95a5a6;">【小智AI项目资料】:https://lceda002.feishu.cn/wiki/B2LLwyC7binHuJkkHGMce03wnWf?fromScene=spaceOverview</span></span></p>
<h3 style="line-height:1.8;">3、硬件部分</h3>
<div>
<h2><span style="font-size:12pt;"><strong>主控部分</strong></span></h2>
<p><span style="font-size:12pt;"><strong><img src="https://image.lceda.cn/oshwhub/pullImage/411fe8b46d744954a21501c2569bae88.png" alt="" width="855" height="1084"></strong></span></p>
<div> </div>
<div>主控用的是 [立创·开源SF32LB52模组](<u>https://item.szlcsc.com/45024582.html</u>),一款蓝牙低功耗芯片,频率 <strong>240MHz</strong>,集成 8MB PSRAM 和 16MB Flash,支持锂电池直接供电。BLE 连接功耗(1S间隔)仅需 7μA,BT连接功耗(1S间隔)仅需 10μA,BLE + BT 双连接功耗比同行单BT连接功耗还能降低 60%。</div>
<div> </div>
<div>模组支持 BT PAN 功能可以直接连接手机上网,相比 WIFI 功耗更低,更加适合电池场景,带屏连接功耗仅 <strong>30mA</strong>。</div>
<div> </div>
<div>在本项目中,直接让电池电源直连模组的电源输入引脚 VSYS。这里需要注意<code>该模组电压范围要求 3.7V~4.7V</code>。3.3V 和 5V 供电都不行。</div>
<div> </div>
<div>模组的 VDD33_VOUT2 是由软件控制输出的,需要芯片正常启动后才有输出3V3。</div>
<div> </div>
<div>模组与其他电路模块的连接情况</div>
<div><img src="https://image.lceda.cn/oshwhub/pullImage/c80741ae05fd4d01b965a83b3be5e9d9.png" alt="" width="1101" height="661"></div>
<h2><span style="font-size:12pt;"><strong>音频功放部分</strong></span></h2>
<p><span style="font-size:12pt;"><strong><img src="https://image.lceda.cn/oshwhub/pullImage/401ebc5e4e144ee680db35889a8ca010.png" alt="" width="1200" height="445"></strong></span></p>
<div> </div>
<div>音频功放主要以上图的 U6 为主,它型号是 LM4871,是一款 3W、单声道 AB 类音频功率放大器,工作电压 1.9 - 5.5V。</div>
<div> </div>
<div><img src="https://image.lceda.cn/oshwhub/pullImage/949debe010ec4f53babd7530f0994be4.png" alt="" width="1200" height="364"></div>
<div>关于该电路每一个器件为什么这么放,是参考手册中的典型应用电路。其数据手册上的典型应用电路如下:</div>
<div><img src="https://image.lceda.cn/oshwhub/pullImage/2c030bfd13e544cabf3b89ddb6e4f0de.png" alt="" width="1200" height="468"></div>
<div> </div>
<div>根据数据手册的典型应用电路的推荐和我们项目的实际情况,最后采用的是 <code>差分输入模式的典型应用电路</code>。</div>
<div>这里有一个问题,虽然我们按照了典型应用电路放置了对应器件,但是器件的值跟典型电路是不一致的。为什么这么做?是为了低成本考虑,典型应用电路中,用到了 10K 20K 1UF 0.39UF 等器件,而我们为了购买器件少一点,让电路更简洁,将电阻统一改为 10K,电容改为常用的 100nF(0.1UF) 和 22UF。实测没有问题。</div>
<div>器件的 1 脚 Shutdown 是芯片掉电控制引脚,为高电平时功放停止工作实现低功耗;为低电平时功放正常工作。在原理图中通过 R4 电阻让该引脚默认为高电平即芯片默认停止工作,当需要功放工作时,需要主控的 PA26 引脚输出低电平才能工作,这样只有需要用的时候才开,不用的时候默认关闭。</div>
<div>
<div>
<div>
<div><strong>声音大小控制</strong></div>
<div>通过实际测试发现,项目原理图中的 R7 和 R8 电阻跟声音大小成线性关系,两个电阻越大,声音越小;两个电阻越小,声音越大。但是声音的大小始终不会超过喇叭的实际可输出声音大小。毕竟该芯片只有 1W 的功放输出。 W 数越大,功率越高,耗电越大,声音越响。</div>
</div>
</div>
</div>
<div>
<div>
<div>
<div><strong>噪声控制</strong></div>
<div>通过实际测试发现,项目原理图中的 C2 和 C5 电容跟噪声消除有关,具体如何调整数值达到理想效果参考该芯片的数据手册说明。这里简洁为一句话:高频噪声放小电容滤除,低频噪声放大电容滤除。</div>
</div>
</div>
</div>
<h2><span style="font-size:12pt;"><strong>麦克风部分</strong></span></h2>
<p><span style="font-size:12pt;"><strong><img src="https://image.lceda.cn/oshwhub/pullImage/bfb2b2b8794f41b4afb7753b451c5e33.png" alt="" width="932" height="674"></strong></span></p>
<div> </div>
<div>麦克风咪头(通常为驻极体话筒)的核心是一个<strong>可振动</strong>的极板(振膜)与固定背极板组成的电容。</div>
<div> </div>
<div>当声音振动波作用在振膜上时,会导致其与背极板的距离动态变化,从而改变电容值。当有声音时,器件内部电容发生变化,这一变化会引发电容两端的电荷移动,产生微弱的交流电信号(模拟信号)。</div>
<div> </div>
<div>但是虽然麦克风内部的驻极体材料自带永久电荷(无需外部供电维持电场),即使没有电源输入,麦克风也能够使用,但是为了确保麦克风能够正常稳定的工作,通常是需要提供一个基准电压(通常2~5V),使内部电容处于预充电状态,确保声音引起的电容变化能转换为有效电流信号。</div>
<div> </div>
<div>在原理图中,R3 电阻的作用就是给麦克风的正极输入一个基准电压MIC_BIAS,这个电压是由模组控制输出的,由模组控制则可以在要用时才输出,不用时关闭,实现低功耗。R3 的电阻值为 10K,测试效果能够接受,过低则采集的音频信号弱,过高则易引入噪声。</div>
<div> </div>
<div>在原理图中,U4 电容的作用就是对采集的信号进行滤波,滤除高频噪声,大多是滤除滋滋滋的声音或者声音沙哑问题。</div>
<div> </div>
<h2><span style="font-size:12pt;"><strong>屏幕显示部分</strong></span></h2>
<p><span style="font-size:12pt;"><strong><img src="https://image.lceda.cn/oshwhub/pullImage/684ba1a3349640978914da5a9259fce4.png" alt="" width="1114" height="704"></strong></span></p>
<div> </div>
<div>屏幕显示使用的是 1.69寸TFT屏幕,采购自 <a href="https://item.taobao.com/item.htm?id=694205959541" target="_blank">金逸晨1.69寸TFT液晶屏ST7789小屏240x280显示器LCD圆角屏SPI彩屏</a>,</div>
<div>屏幕通过SPI协议控制,供电 3.3V。</div>
<div> </div>
<div>这里SPI的通信控制信号引脚,可以使用主控的硬件SPI外设,实现更高的通信速率,更快的屏幕刷新。但是使用主控的硬件SPI外设,则需要选择特定的引脚。</div>
<div> </div>
<div><strong>模组与屏幕的连接</strong></div>
<div>
<table>
<tr>
<th colspan="1" rowspan="1">
<div>模组</div>
</th>
<th colspan="1" rowspan="1">
<div>1.69寸TFT屏幕</div>
</th>
<th colspan="1" rowspan="1">
<div>说明</div>
</th>
</tr>
<tr>
<td colspan="1" rowspan="1">
<div>GND</div>
</td>
<td colspan="1" rowspan="1">
<div>GND</div>
</td>
<td colspan="1" rowspan="1">
<div>屏幕电源地</div>
</td>
</tr>
<tr>
<td colspan="1" rowspan="1">
<div>VDD33_VOUT2</div>
</td>
<td colspan="1" rowspan="1">
<div>VCC</div>
</td>
<td colspan="1" rowspan="1">
<div>屏幕电源输入</div>
</td>
</tr>
<tr>
<td colspan="1" rowspan="1">
<div>PA04</div>
</td>
<td colspan="1" rowspan="1">
<div>DO(SCL)</div>
</td>
<td colspan="1" rowspan="1">
<div>屏幕通信时钟引脚</div>
</td>
</tr>
<tr>
<td colspan="1" rowspan="1">
<div>PA05</div>
</td>
<td colspan="1" rowspan="1">
<div>D1(SDA)</div>
</td>
<td colspan="1" rowspan="1">
<div>屏幕通信数据引脚</div>
</td>
</tr>
<tr>
<td colspan="1" rowspan="1">
<div>PA00</div>
</td>
<td colspan="1" rowspan="1">
<div>RES</div>
</td>
<td colspan="1" rowspan="1">
<div>屏幕屏幕复位引脚</div>
</td>
</tr>
<tr>
<td colspan="1" rowspan="1">
<div>PA06</div>
</td>
<td colspan="1" rowspan="1">
<div>D/C</div>
</td>
<td colspan="1" rowspan="1">
<div>屏幕读写功能引脚</div>
</td>
</tr>
<tr>
<td colspan="1" rowspan="1">
<div>PA03</div>
</td>
<td colspan="1" rowspan="1">
<div>CS</div>
</td>
<td colspan="1" rowspan="1">
<div>屏幕通信片选引脚</div>
</td>
</tr>
<tr>
<td colspan="1" rowspan="1">
<div>PA42</div>
</td>
<td colspan="1" rowspan="1">
<div>BLK</div>
</td>
<td colspan="1" rowspan="1">
<div>屏幕背光控制引脚,高电平屏幕背光亮</div>
</td>
</tr>
</table>
</div>
<div><strong>模组的引脚复用表</strong></div>
<div><strong><img src="https://image.lceda.cn/oshwhub/pullImage/b9e4e59f38de49d2ae070ac90093a3f1.png" alt="" width="1200" height="570"></strong></div>
<div> </div>
<h2><span style="font-size:12pt;"><strong>按键部分</strong></span></h2>
<p><span style="font-size:12pt;"><strong><img src="https://image.lceda.cn/oshwhub/pullImage/f1f8a4707f564969af0c90970e0bd708.png" alt="" width="1200" height="524"></strong></span></p>
<div> </div>
<div>每一个项目基本都需要有人机交互部分,本项目通过按键进行控制,U2 PA34_KEY 是唤醒键 + 语音输入键,按下 U2 按键可以让主控从低功耗睡眠状态唤醒,当主控正在工作时,按下按键进行语音输入。</div>
<div> </div>
<div>U1按键目前待定用途,设计出来备用。</div>
<div> </div>
<h2><span style="font-size:12pt;"><strong>指示灯部分</strong></span></h2>
<div><img src="https://image.lceda.cn/oshwhub/pullImage/034be67e64854e45b6be54cef24a59c4.png" alt="" width="1200" height="388"></div>
<div> </div>
<div>用于指示模组状态。通过模组IO控制。IO输出低电平LED灯亮,IO输出高电平LED灯灭。</div>
<div> </div>
<h2><span style="font-size:12pt;"><strong>下载部分</strong></span></h2>
<div><img src="https://image.lceda.cn/oshwhub/pullImage/31572b70c8d5470f90f436559de666ba.png" alt="" width="1017" height="645"></div>
<div> </div>
<div>模组的下载是通过串口进行下载的,必须使用 PA18 和 PA19 引脚下载。</div>
<div> </div>
<div>本项目直接使用 <a href="https://item.szlcsc.com/51679391.html?fromZone=s_s__%2522CH340X%2522&spm=sc.gbn.xh2.zy.t___sc.hm.hd.ss&lcsc_vid=QVhbAlYAFlcKVQIAFQBcBFNSElNbUgFTTlNXXgZVTwIxVlNTRlVbV1dUQ1BXVDtW" target="_blank">CH340X 模块</a>的接口作为下载器。实测能够正常下载和串口调试通信。</div>
<div><img src="https://image.lceda.cn/oshwhub/pullImage/d0358bff2cc4464d9d5c5b804325a57c.png" alt="" width="1200" height="639"></div>
</div>
<h3 style="line-height:1.8;">4、软件部分</h3>
<div>
<div>在开始之前,我们需要进行一些前置工具,请确保完成以下的步骤:</div>
<ol>
<li>
<div>sftool: 用于SF32系列SoC芯片的烧录</div>
</li>
<li>
<div>下载固件: 开发板的固件位于 <a href="https://github.com/78/xiaozhi-sf32/releases" target="_blank">https://github.com/78/xiaozhi-sf32/releases</a>,我们下载最新release版本的压缩包。需要注意的是,我们一共需要<code>bootloader.bin</code>、<code>ER_IROM2.bin</code>、<code>ER_IROM3.bin</code>、<code>ER_IROM1.bin</code> 和<code>ftab.bin</code>这五个文件。 建议先下载sftool工具,下载完成后将这些文件放在sftool文件夹中,与sftool.exe同一路径。</div>
</li>
<li>
<div>开发板对应固件:小汤圆直插版(立创训练营): sf32lb52-xty-ai-tht.zip</div>
</li>
</ol>
</div>
<h3 style="line-height:1.8;">5、BOM清单</h3>
<p style="line-height:1.8;"><img src="https://image.lceda.cn/oshwhub/pullImage/3220d74d6fff45e8afd549f3a6f8ffcd.png" alt="" width="941" height="975"></p>
<p style="line-height:1.8;"> 演示视频在附件</p>
<p style="line-height:1.8;"> </p>


评论(0)